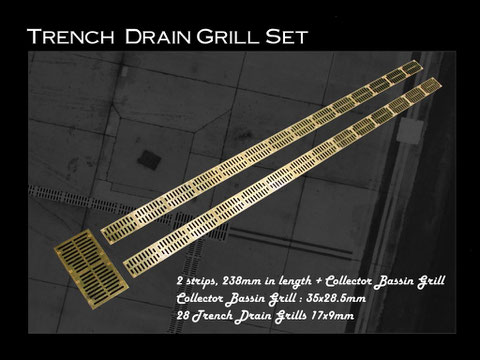
Photo Etched Products
Well, you know we have the scenic display products, right? All them aprons and
tarmacs...yeah, that stuff. I´m sure you are with me by saying that these really deliver very nicely and can be used straight out of the box.
Nevertheless there aint no limits in texturing these further by separating the slabs from each other, adding some grass or sand and make them just a lil bit more vivid. Some of the artworks we
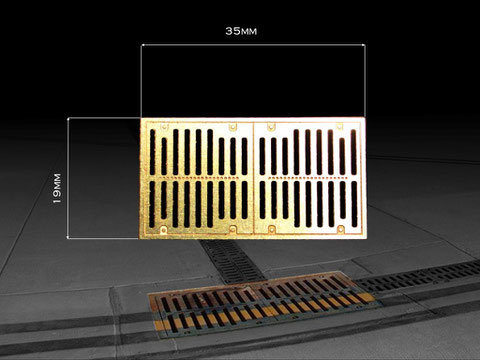
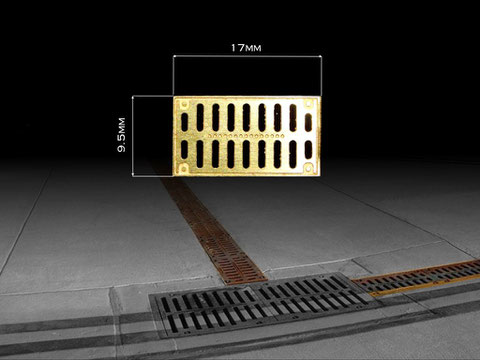
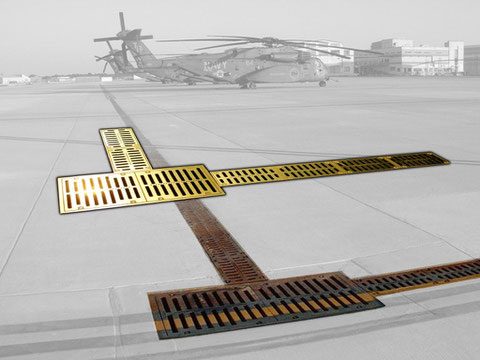
have, include some drainage trench grills and tread plate man holes. I found it to be a good idea to release some PE that fits these products really nice, so here we go:

Application
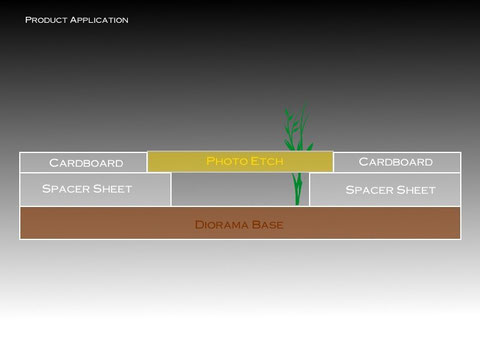
The photo etched elements have kind of a "margin" around it, allowing enough supporting surface on a spacer which needs to be used in order to form an actual trench. So what you do is:
- cut out the entire scenic display and select the area you´d like to use
- arrange all slabs on your dio base for a layout-plan
- Use a large plastic- or cardboard sheet (spacer sheet) and apply the tarmac textures as can be seen on the image above.
- attach the textures on their spacers to the Dio base.
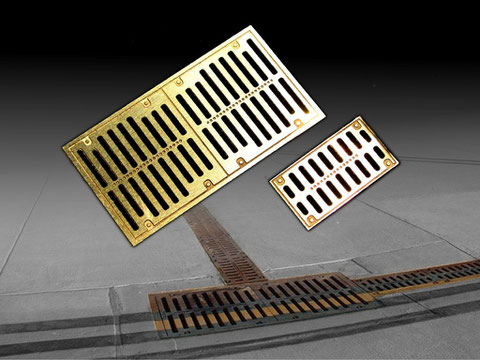
- Paint all trenches Black or dark on their inner sides.
- Place the grill on top of it but dont glue it yet because:
- How about some grass growing through the grill?