
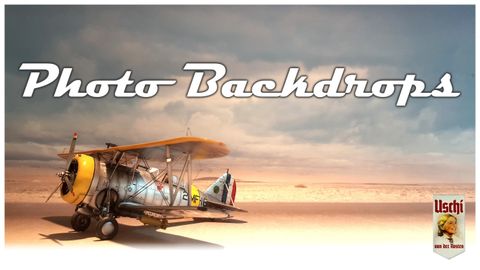
We are about to release a line of photo backdrops as we speak. The first 9 versions will be availabe in A1 and A2. Here it comes in figures:
A1 is 594 x 841 mm which equals 23.4 x 33.1 in inches
A2 is 420 x 594 mm which equals 16.5 x 23.4 in inches
So, these are quite huge and that is exactly what we need in order to have a backdrop which is large enough to allow taking a shot of the general view of the entire model sitting in front of an undisturbed background. Lets get into some details:
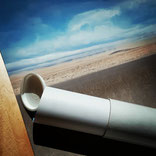
Material-wise we have our high resolution images printed on matte and stabile photo paper. We deliver your backdrop in a cardboard drum for comfy storage and handling.
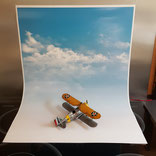
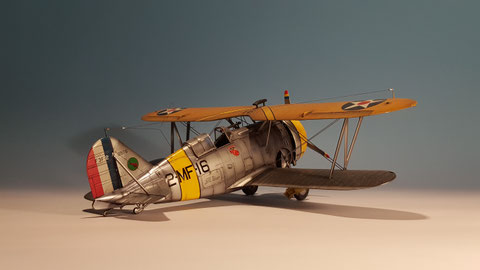
Application-wise the product is really simple to use. All it takes is two surfaces pointing to each other in a 90° angle. A table and a wall behind it, usually does precisely that. Just fix it with some tape and there you go. Now you can arrange your light sources around it. Light Source: Daylight. Backdrop: Item #F1 "Friendly with Clouds"
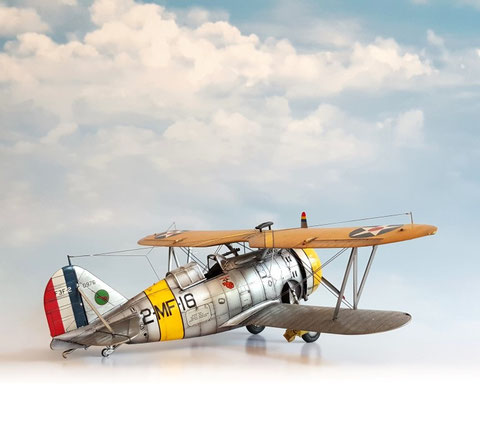
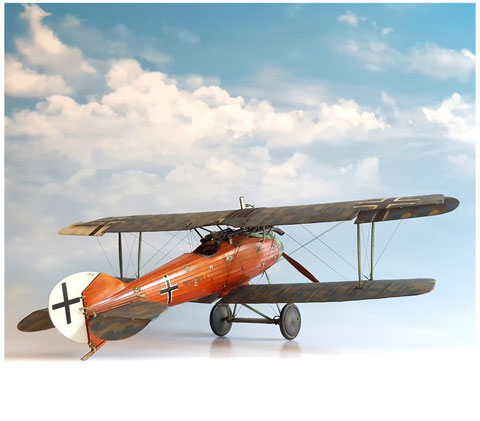
And finally, result-wise our backdrops deliver quite cool images and thats not only true for aircrafts. All the images you see here have been taken using a smartphone.
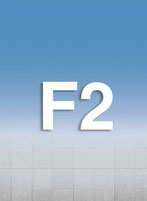
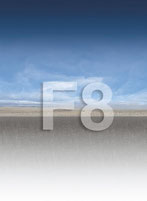
Available designs


You have control. Some remarks in terms of set up and accessories.
My photo equipment really is some HIGH END SUPER FUNKY and ridiculously expensive stuff. NOT.
In the past I used a Sony DSC-H20 bridge cam which is now like....6 years old. It did a good job but now smartphone cams became so good, I only use my smartphone and Instagram. This phone produces jpgs at a size of like 50MB, which is enough in resolution to print a friggin poster. I considered buying a new cam, but I wont do it. Phone is enough.
In some cases, I also use paint.net which is freeware graphic program and it can be downloaded here: http://www.getpaint.net/index.html.
I use it for making a simple collage or for the implementation of text elements.
There is one thing in which I will invest a lil bit and thats two proper photo lamps as well as some other stuff to prevent drop shadows. With this equipment you have everything it takes to make some really cool photos.
So, lets have a look on what we need to create images of a quality as shown in this article.
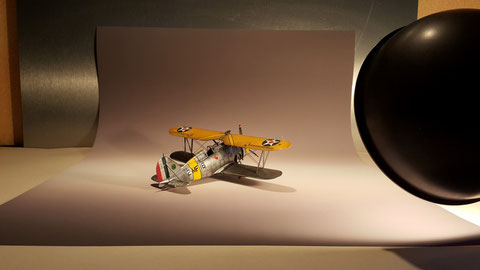
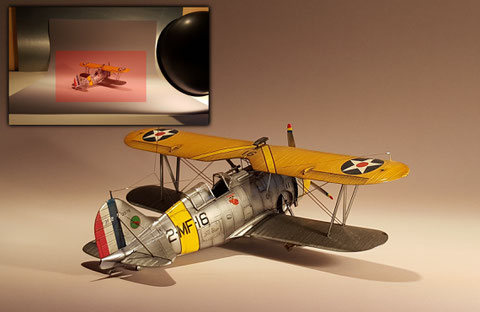
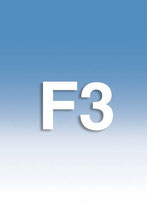
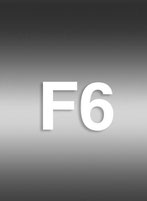
The images above been taken using an Android smartphone. The upper one is item #F6. the lower one is item #F3. I used a very simple and improvised set-up, made of nothing but a simple table light. The image hasnt been processed at that stage. After takig the the images, I loaded these into Instagram, cropped it a lil bit and applied some filters. I also played with some effects like saturation and contrast and alike. All of the sudden I had 4 really cool images and I didnt know which one to use. Luxury problems....


As mentioned earlier, light is key. But apps on phones can compensate a lot.
Sometimes there are really underexposed areas on a motif or you have light against you and the cam is trying to compensate.
Thing is: The missing information (in shadow) nevertheless is part of the image,
(at least to a certain extend), so what you can do is to use a comfy app and bring this info stronger
into play again.
Instagram for example can compensate a lot and re-emphasize info hidden in the dark. If you then also can handle a photo editor, (as mentioned above) you can lay the improved image over the
underexposed one and play with the transparency settings until you have a really balanced image that works nicely on social network and also can be used in magazines.
Some magazine people prefer a White neutral backdrop because its matching their design guidelines but I think if you handle it carefully, they also would be open to use at least one of your
backdrop-images, as an "Opener" for example.
So, as you can see, thats quite some versatile stuff we have right here. This once-in-a-lifetime invest is an excellent aid for making more of your models on which you have spent so much time on. That model of yours deserves a backdrop like ours.