
Elli and Walli, the "Luft 46" subject at it´s finest
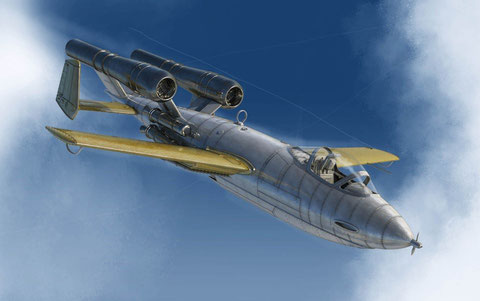
I gonna keep it short here on introducing the actual aircraft or the kit. This page is more about the accessories we produce. Just a couple of remarks: There was a prototype being built and it
was even tested. Everything beyond this point, such as Schmidding boosters, Walter rocket propulsion and a twin-Argus-pulse configuration is "what if".
That´s not a bad thing in my book, it´s actually a wonderful thing! You can go buckwild and use your own imagination and logic in order to build a beautiful model. So...let´s do this!
Normally I would now present pictures of a complete model. In this case however, I did not manage to build a full kit. I´m in the process of doing so, though. It´s fun!
Aight, lets have a look on the manual which comes with the decal set.
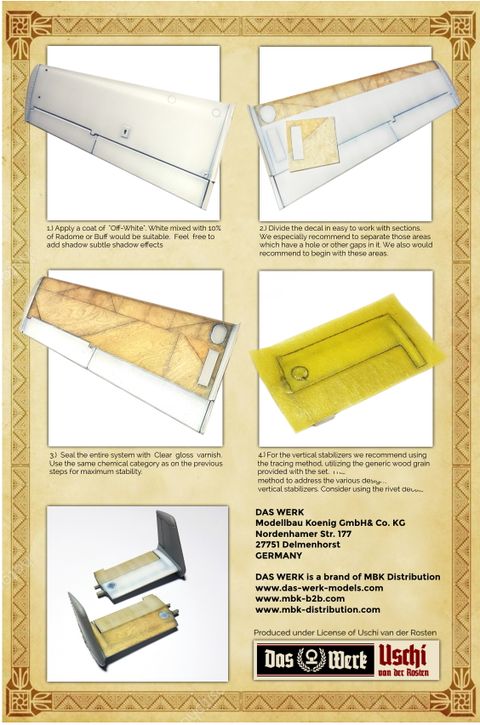
So, I think like info-wise, we´re pretty set, right? Let me have a few additional comments on what I have learned during application and what would deserve to be highlighted as well.
- Test the decals. The kit decals are very different to the wood grain decals. I would recommend to test the time it takes to come off from the carrier film in that bath in tap water. The wood grain decals come off really quickly. You dont want them to be floating around in the water.
- Separate in sections. It´s highlighted in the manual aready, but I can´t stress it enough: Cut it in small and easy to handle sections. The joint lines will be next to invisible.
- Stay in chemistry. Use the same category of clear Varnish which you have used for the base coat. I recommend everything that´s a bit stinky. Paints with a strong chemical bond create stable paint-decal-systems.
- Cut out the "White sections". Especially sections including holes require extra TLC. Separate these areas from the rest of the texture and apply these first in order to serve as "an anchor" for the neighbouring sections. If neccessary, apply corrections using the spare textures.
- Start low, aim high. I would recommend to begin on the lower sides of the wings. In case something shouldn´t look that good, here is where it would be bothering the least.
Let´s have a look on the actual product, so all of this makes actually sense.
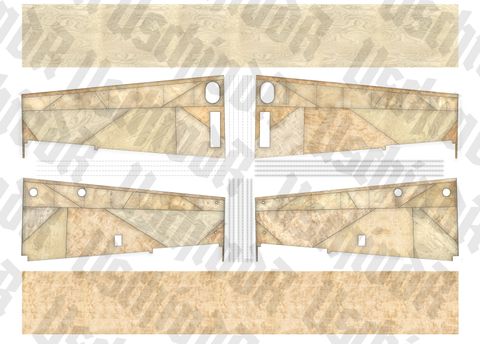
General features
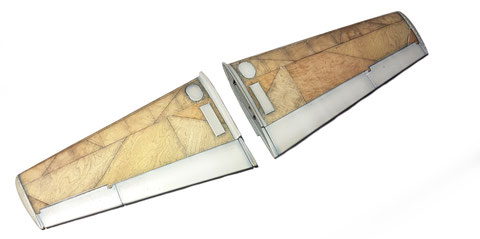
- Upper wings included
- Lower wings included
- Pre-shaded panel lines included in the design
- Pre-shaded rivet lines included in the design
- Horizontal stabilizers can be configured freely
- Spare wood texture material included
- Spare rivet line decals included
Users who buy the product in the Uschi point of sales will receive additional wood grain decals along with their purchase.
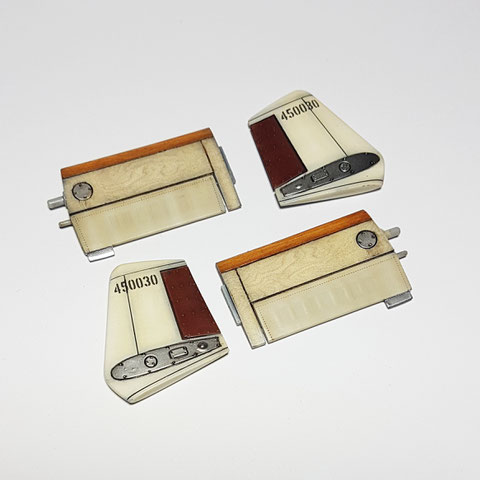
Let´s have some pics.
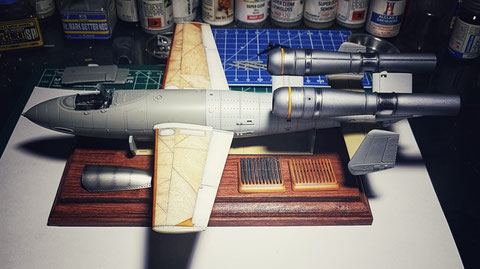
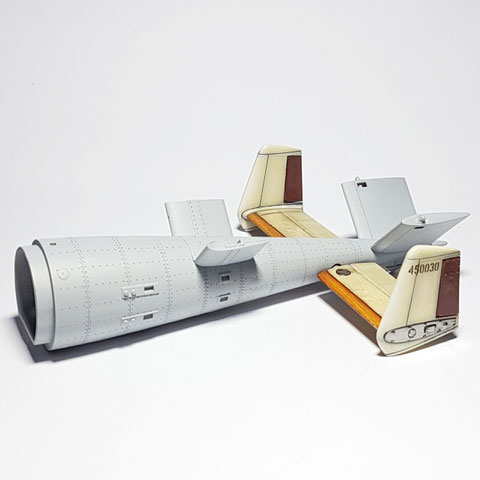
That was the prototype being used for testing and designing. The matallic opject to the left (on the dio base) is part of the landing skid system.
The upper wing surfaces. As you can see, everything metal now needs masking on top of decals. That´s something you can conviniently do, if you have made sure that your system of layers is stable. The advantage if this method is that I dont have to deal with sensitive natural metal finishes (NMF) while sealing the decals with lacquer based clear varnish. If you go for metal first, please consider protective masking on top of the NMF sections in order to avoid uncontrolled changes in appearance.
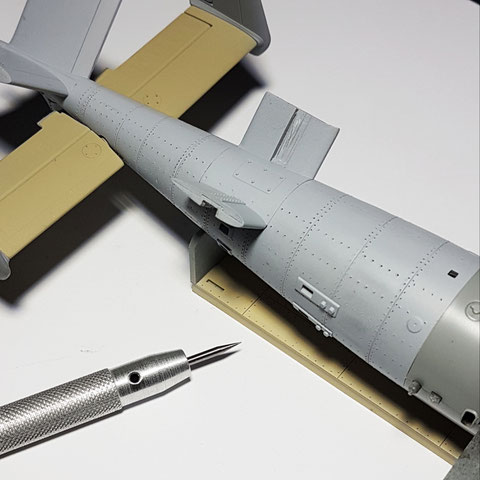
The Peenemünde (available here) engraver-scriber-center-punch tool has been extensively used in order to re-create each single rivet on the fuselage. This will pay off big time once we highlight the rivets with a Black wash.
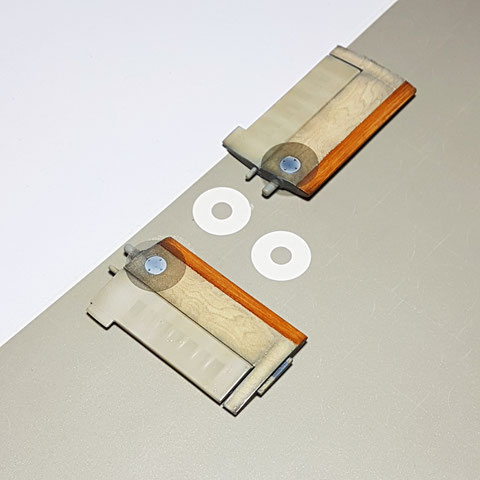
The Wheels & Hatches Small set convinced and kept the promise again: A suitable diameter is included for your current 48th or 32nd scale project. Very convinient.
I think the new features being included, such as spare rivets, pre-shading effects and spare material being included in the set are marking a new mile stone as far as refinement in product
development is concerned.
A prefect match for this great kit.
Thank you for your attention and interest.
Alex